I kept having the torch handle getting in the way of my work clamps, so I wanted a vertical torch head, but not so much that I wanted to drop $2-300 on one. I found an $87 torch on Aliexpress that more or less matched the torch that came with my cutter, allowing me to use the same consumables. It also had a more flexible cable sheath than my original.
I know there’s a 3D print file available to house the head components, but if you don’t have access to a printer, or want to retain the shield safety contacts, here’s one solution.
You no longer need the trigger switch, so it comes out and the extra wires get routed back up into the cable sheath. Cover the connectors to be sure they don’t short to each other.
I then cut the housing parallel to the nozzle axis close to the head. Then we can rotate the balance of the handle in line with the nozzle axis, and tack it in place with some JB weld. The copper line is surprisingly malleable and you can bend it to fit within the handle in the new orientation. Cut notches for the tube and wires in what was the top of the torch so they can pass up the handle. Make sure the blow-back piston has clearance, and it’s wire has room to move.
Then its time to add some scrap plastic and more epoxy to fill the holes in the handle, and strengthen the bond between the handle and nozzle ends. It is helpful to sandwich some thin packing tape between the halves when doing the epoxy work, so the halves don’t bond together.
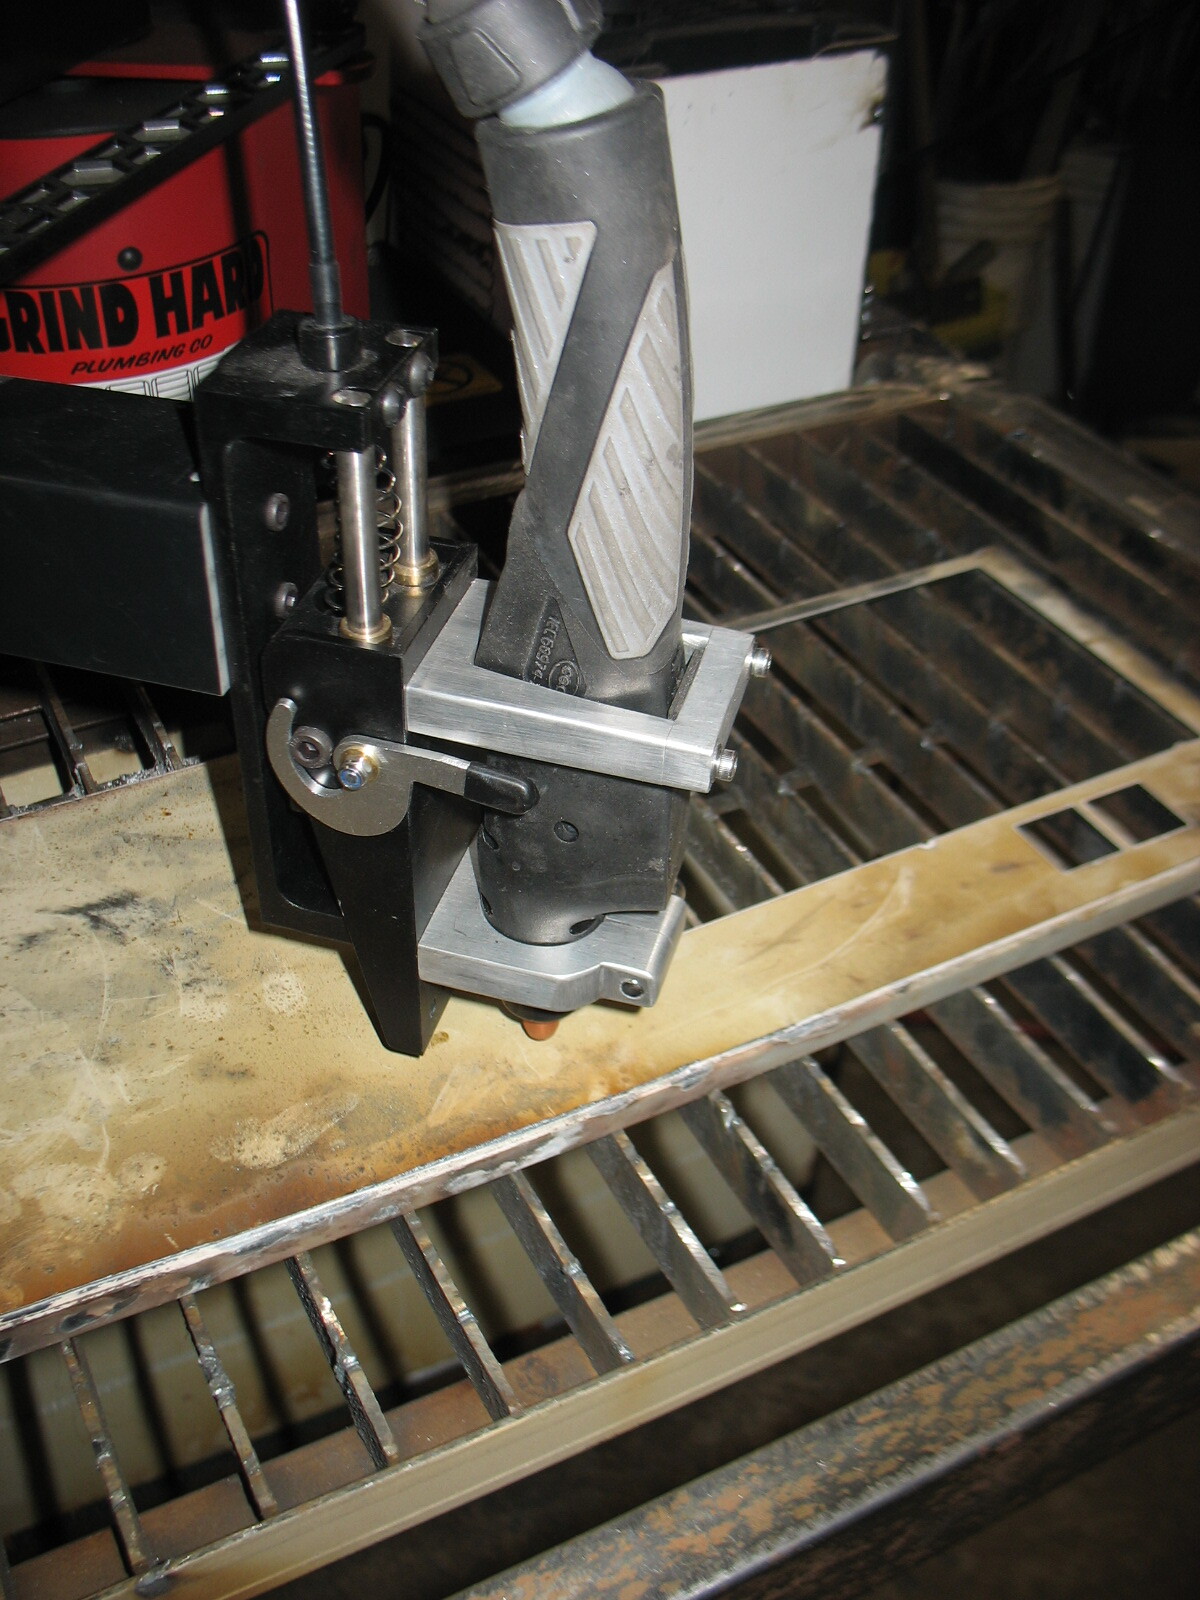
Some sanding and some paint, and some custom mounts to attach to the Arcdroid, and it’s ready. Every Plasma maker seems to use a different pin layouts in the common FY0023 connector, so you may need to re-pin that before use.
As a side note I have heard doubts about using long torches and whether the inertia/leverage of the form factor might affect the Arcdroid motion system.
I don’t see a super advantage with a machine torch versus a handtorch with the Droid. With a hand torch the lead naturally forms a nice, short, U that when supported with swiveling arm never seems to be a problem. The vertical lead of a machine torch is in my opinion, harder to support properly without impinging on the arms movements. Many tout the advantage of having the hand torch free for manual cutting but it sure doesn’t take much to free it from the Droid in my eye. If your trying to cut down inside of something then the machine torch wins as the hand torch needs more open area.
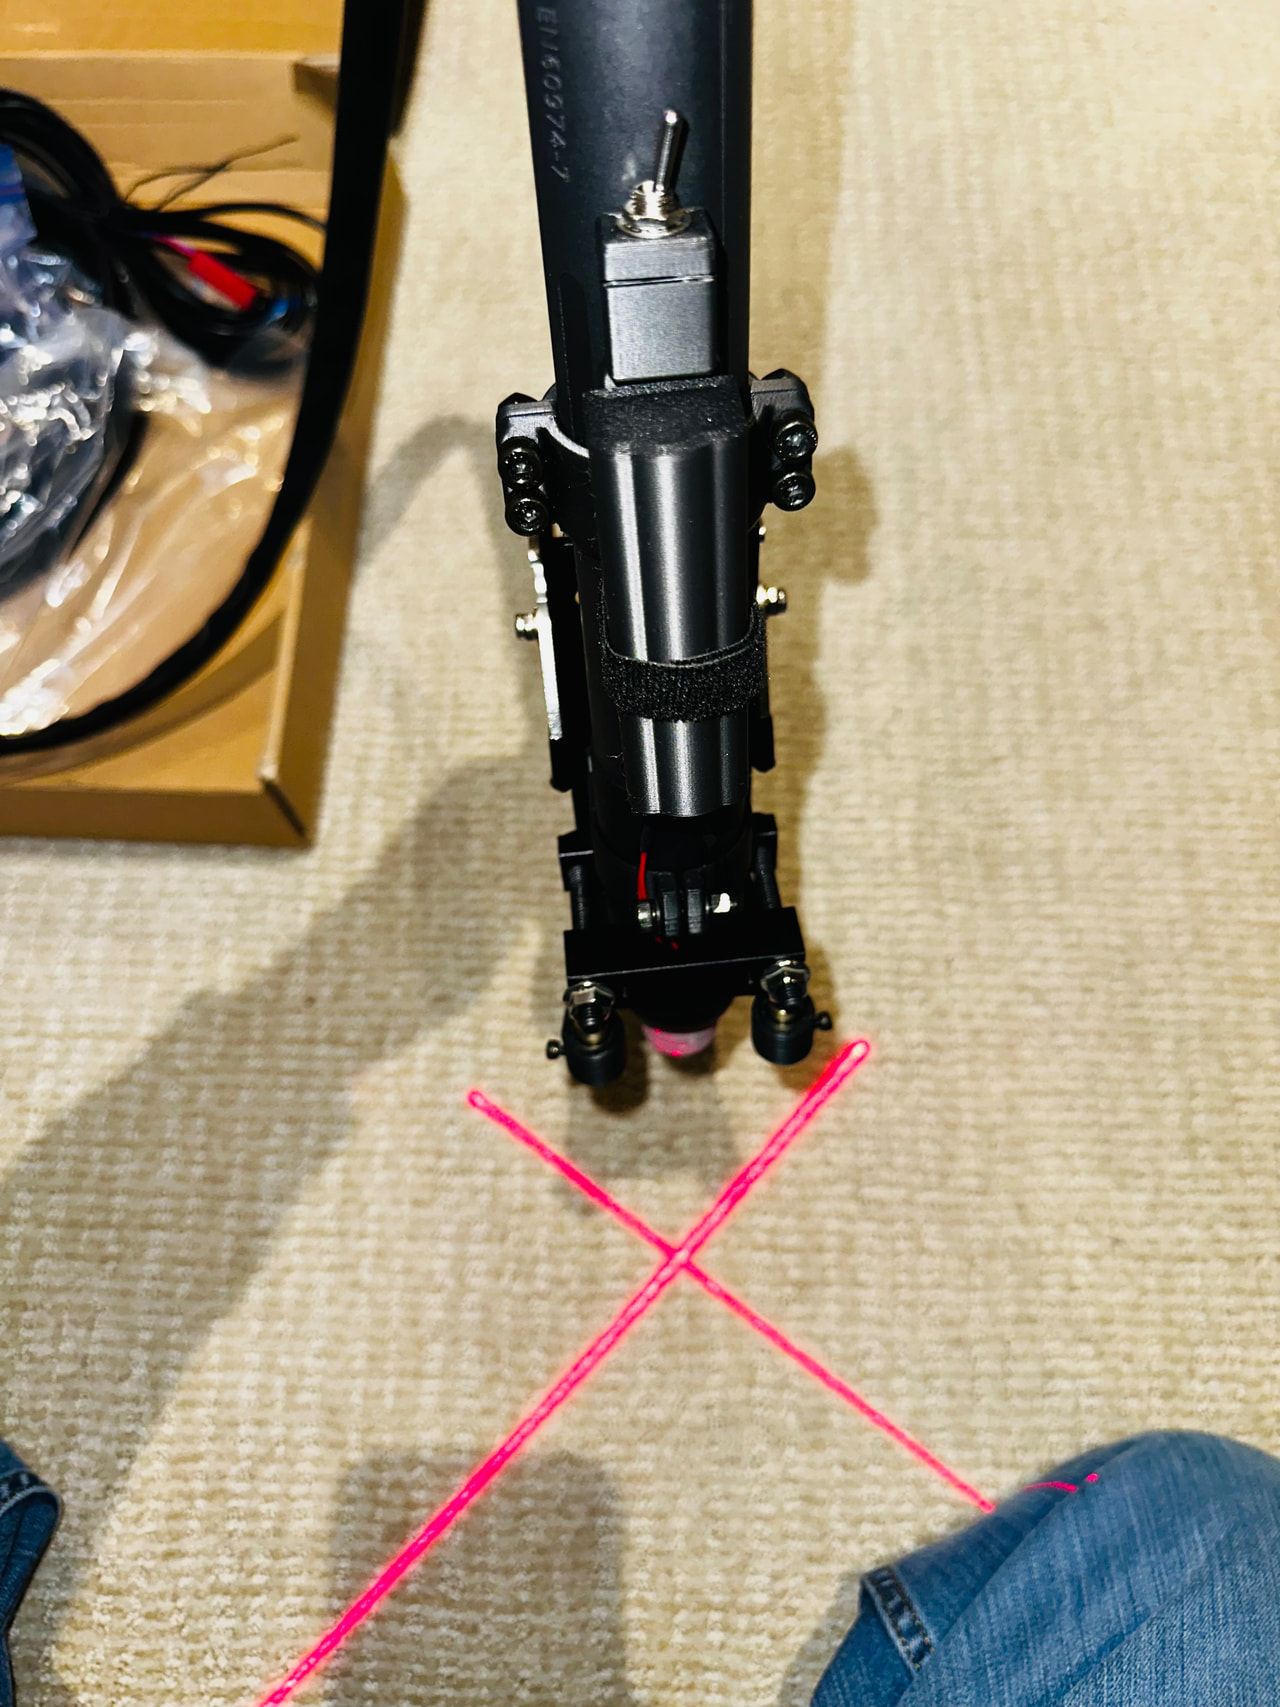
Having not set up my Droid yet I can’t speak from experience. But if both cables are supported from above I can’t see how the machine torch going straight up would cause more leverage than the hand torch hanging off the side. ¯\_(ツ)_/¯. That said, I did think that it was quite a tall beast to be supported just by its nose, so I designed and 3D printed an upper support clamp for it. And, because I like tinkering, I also designed and 3D printed a dual line-laser aiming setup. I’ll create another post about the setup.